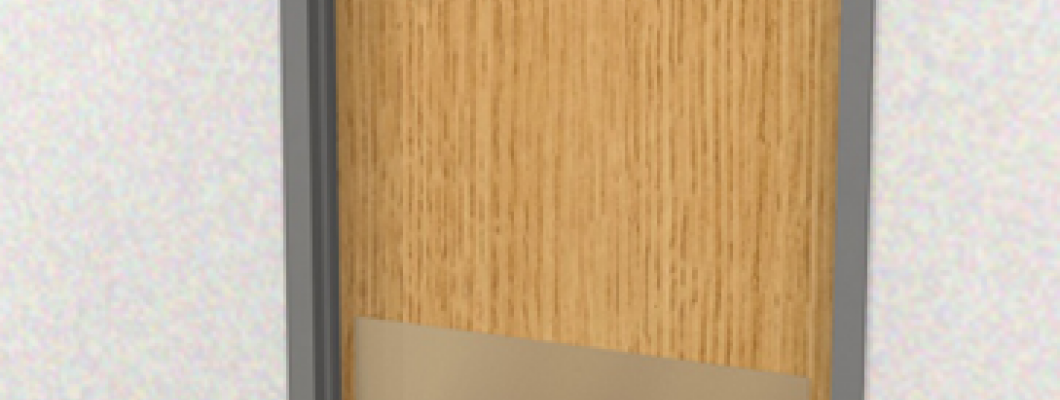
How to Install a Kick Plate
The purpose of a Kick Plate is to provide aesthetic qualities as well as increase the durability of the door. We provide you with an immense variety of styles and colours to add a perfect finishing touch to doors either at home or in the workplace. This guide will explain how to work out what Kick Plate size you require, how to measure it and how to physically attach it to your door.
Measuring Your Door
First of all, you need to open your door. Use a tape measure to work out the width of the door. Try and get the measurement to the mm.
You should now remove 2 inches from the previous measurement (width of the door). These two inches need to be removed so that your door has space to open and close. A kick plate also looks better with a little trim off the edges.
Now, you need to work out how high your Kick Plate needs to be. If your door has a decorative panel/insert, you need to measure from the bottom of the door to the first panel or insert. You should now subtract 1 inch from this measurement, which will allow half an inch clearance on either side of the Kick Plate. If your door doesn’t have any decorative panels or inserts, then you will have to make the decision yourself and try work out the height.
If you are indecisive of how high your Kick Plate needs to be, the recommended height for a standard sized door if 6 inches and 8 inches for a larger door.
You should now have the total dimensions for your Kick Plate.
Using a Guide
The best and easiest way to actually install your Kick Plate is by removing your door, however a Kick plate can be installed while the door is still attached.
To get started, you are going to make a guide on your door. We recommend that you use the Marxman pen to mark out where the screw holes are, and the measurements either side. The Marxman pen will run off your door and is easy to mark a hole with.
Line up your Kick Plate in the centre of the door where the Kick Plate is to be installed. Use a tape measure at either side of the Kick Plate so the edge of each plate is equal at either side.
Once the Kick Plate is into position, mark the door using a Marxman pen where each screw hole on the Kick Plate is. This makes it significantly easier to line up the Kick Plate and will ensure you drill holes in the correct location.
Attaching the Kick Plate
When it comes to attaching your Kick Plate, you need to drill the holes in where you marked previously. There should now be drill holes; place the Kick Plate so the screw holes match up with the holes you screwed.
You are ready to screw in your Kick Plate. One tip that will make this process easier is to actually tape down the Kick Plate to the door. This will keep it secure, and you will have two hands to screw the plate in.
Start screwing the plate into the door using a Phillips head screwdriver.
Ensure all the screws are tightened so that the plate isn't loose as a loose Kick Plate will rattle if the door is slammed. Depending on the length of the Kick Plate, they are supplied with Screw Holes in the middle of the plate to tighten it and prevent rattling.
Finishing the Installation Process
Your Kick Plate should now be installed on the door.
If you removed your door before the installation process, you should now hang the door back into place.
Once your Kick Plate is installed on the door and the door is hung up properly, you should test that the Kick Plate is installed in a sturdy position. You can do this by opening and closing the door.
If the plate has a protective cover or a plastic film, you should remove this. Only do this once the plate is installed properly.

Leave a Comment